Saturday, December 28, 2013

Special Acoustic Guitar-Making Tools and Jigs -- Part Two

In a prior post concerning the acoustic guitar kit I received, I mentioned the need for special tools and jigs, and there are many.  I researched this extensively and discovered that anything I need can be purchased from a variety of sources, and if my pockets are deep enough, there is no problem.

Well, here's what I further understood.  Some tools and jigs are very simple in construction, but costly, so I decided to create my own, with the exception of a couple, which are more complex or made from materials I do not have at my exposure.  I'm fortunate to have a shop full of the basic woodworking and craft tools, and enough experience gained through past experiments to tackle the 'special' tool making endeavor, plus I simply get a rise out of creating my own stuff.

- 0 -

A body mold is essential.  It can be as simple as laminated cardboard pieces cut in the shape of the guitar body, or as complex as an item costing a hundred dollars or more.  Or, something in between for a lot less money.  I chose the middle ground, and spent about $12 on materials to build a mold that is hinged at the bottom and will close with a spring latch at the top, which will keep all the guitar surfaces in place during the building process.


- 0 -

The next items needed to shape the guitar body are spreaders that fit inside the mold to hold the sides in position, while being glued together, and while kerf ribbon is glued to the inside top and bottom of the sides. These simple devices can cost anywhere from $35-60 on the web, and that doesn't include shipping.  I made mine for about $3 a piece, using turnbuckles with eye bolts and scrap lumber I was going to toss out.

These spreaders are for the center inward angle of the body,
and for the bottom bout.  The spreader for the upper bout
(which I still need to build) is similar to the bottom, only shorter.

This spreader is used when gluing the neck and end blocks 
in place at the top and bottom of the guitar.

- 0 -

Cam clamps of various description are needed in special circumstances and they too can be purchased, if you don't mind coughing up $19-35 plus shipping each for simple devices like the ones I created for less than $2.50 each in materials.

The upper clamp arm slides on the metal shaft, and the cam lever tensioner can be
adjusted to hold things securely in place during the gluing process.

- 0 -

A special clamping caul is essential when gluing a bridge to the top surface of the guitar, due to the uneven surface of the bridge.  So, for about $1.20 and a piece of scrap wood stock and a small piece of sheet cork, I built a custom piece that would cost $60+ from a supplier.

The clamp is centered on the bridge and held in place through the sound hole
by one of the adjustable clamps pictured above.  Then the screws on either end 
are adjusted to hold the ends of the bridge firmly to the body during the gluing process.

- 0 -

Another nifty little item is a homemade fret dresser, which is simply a sheet of eighth-inch ply with laminated and shaped pieces for a handle.  The straight edge of the ply is grooved to fit the contour of a fret.  A small piece of very fine sand paper is wrapped over the leading edge of the tool and rubbed carefully on the frets to dress down any sharp or uneven edges.  Cost to make $0.


- 0 -

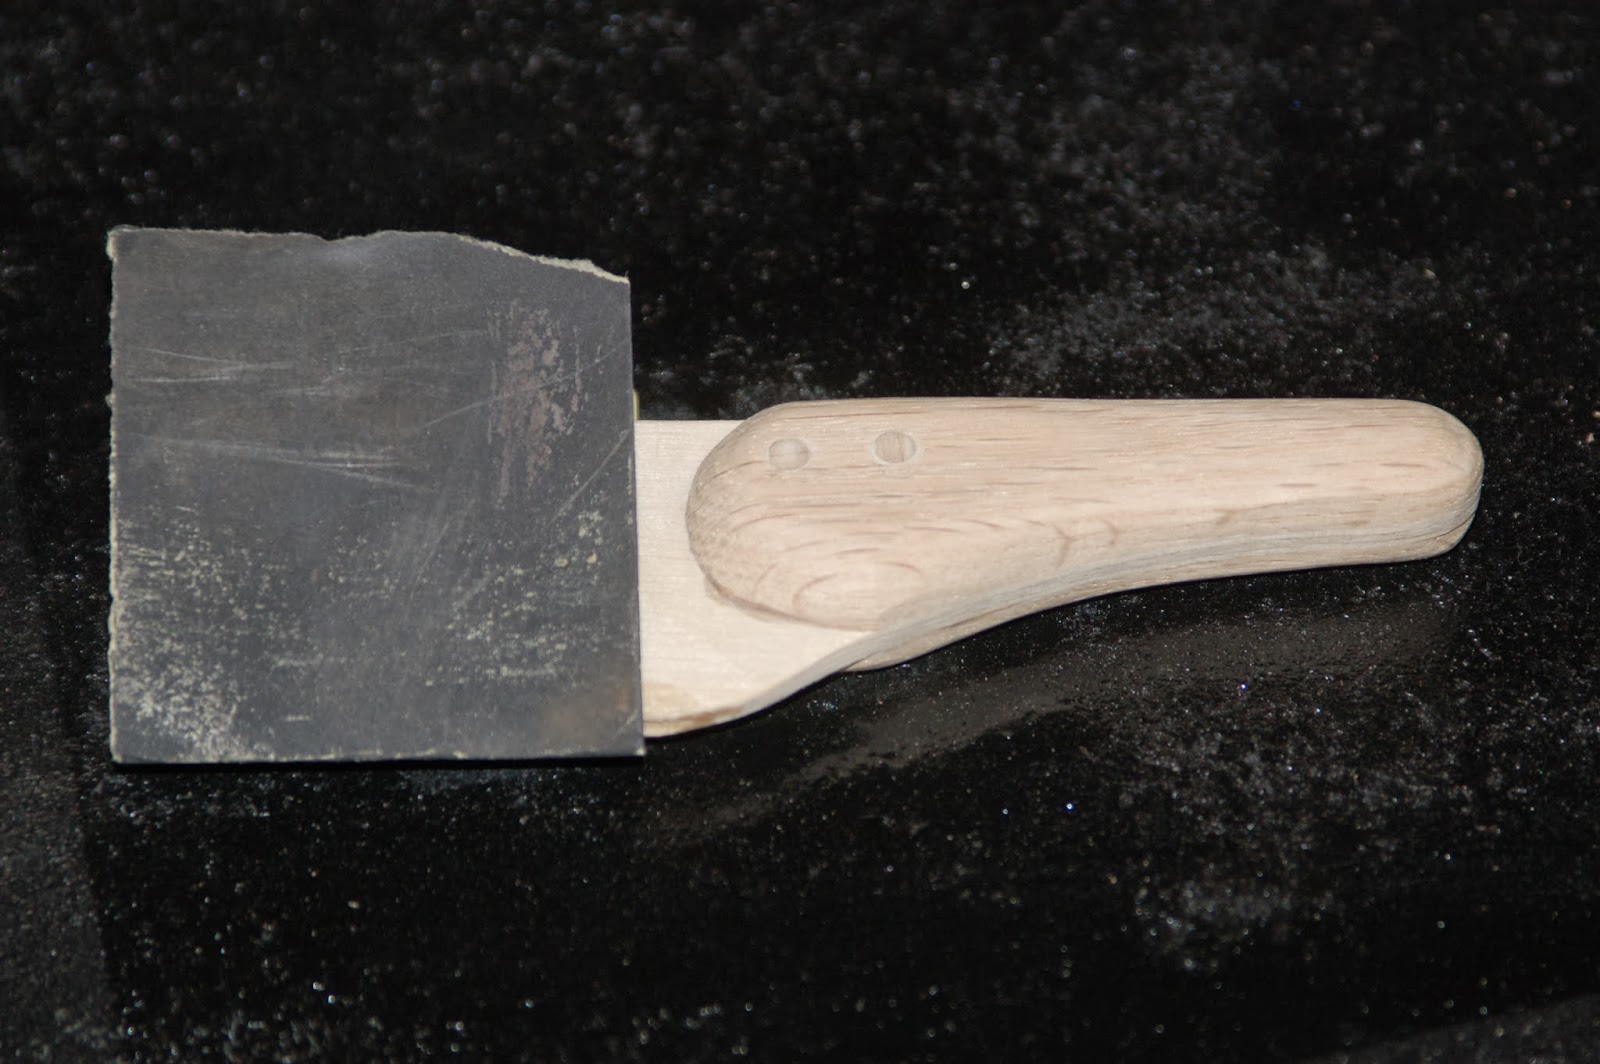
Saddles are the bone (or other material) pieces on the top of the bridge, which hold the strings off the fingerboard and guide them at the proper angle along the neck.  Usually, the saddle top edge is slightly rounded over, which can be a simple task or a little more difficult.  I like simple, so I created a little tool out of a dull box cutter knife blade.  I cut a thin slot in a piece of scrap oak, inserted the blade sharp-side down in the slot, and voila, the rounded adjustment slots on the blade can be used to round over the saddle stock., by sliding it along the saddle.  Cost to make $0.  Cost to buy, I don't know, 'cause I've not seen one on the market.


- 0 -

And, this jig is for applying tension to bracing material on the inside of the top and bottom surfaces of the guitar. I suppose a combination of books, bricks, or Weider weights could be used to hold the bracing in place, but again I like a simpler approach, even if it requires a little thought, exploration, or piracy of an idea. The jig shown here has a bottom deck and top surface which is slightly larger than a guitar body.  The two surfaces are separated by about 20 inches with a dowel on each corner, which is secured in place with screws.  The guitar top is placed on the bottom jig surface; finished bracing is glued and applied to prearranged locations on the guitar surface; and long, thin dowels are placed on the bracing and wedged under tension against the top surface of the jig to apply uniform pressure to the bracing during the drying process, which holds everything in place to ensure a sold glue job.   Cost to build about $30.  Cost to buy $450+ at your favorite luthier supply store.


Friday, December 27, 2013

I Made The Acoustic Leap! -- Part One

To me there is a giant crevasse on the journey of making cigar box guitars and transitioning to dreadnaught acoustics, but I made the leap.  Nearly four years to the day since creating my first CBG, I received a Martin 14-fret dreadnaught kit for Christmas.


Needless to say, I am very pleased with the gift, but I'm also paranoid about screwing up the makings of a really cool guitar, to say nothing about the expense associated with this experiment.  But, I'll do my best to create something worthy of melody making, and if the past is any indication of the future, things will go well.

It is a D size guitar made of solid East Indian Rosewood back and sides, and solid Sitka spruce top. The grain and color of the sides match the 'book matched' back perfectly.  And, the two pieces of the Sitka spruce top are so well matched that you cannot tell where they are joined in the middle. But, that's why Martin guitars are some of the finest in the world, and it seems their kits are of the same quality as their finished guitars.

The  25.4" scale mahogany neck with rosewood headstock veneer comes with a truss rod to fit the channel, and unfretted rosewood fingerboard, which is slotted and radiused, and position markers are pre-drilled.

The kit also comes with rosewood bridge and bridge plate; tortoise pick guard; dovetail mortise and tenon neck block; end block; traditional 5/16" X-pattern spruce top bracing blanks; spruce back brace blanks; binding; purfling; bone nut and saddle blanks; and medium gauge fret wire.

The kit is great!  But, there are a few things that need attention before commencing with the build.

TOOLS and JIGS!  Yes, there are numerous special tools needed.  And, there are choices to make -- buy or build?  Or, both?

I chose the latter, with a bunch of 'build' tossed in, and I'll post photos soon of the tools I built, which will bring this kit to life.

But, in the meantime, I plan to read the plans several times, and to familiarize myself with all the nuances of building a full size acoustic guitar from nearly scratch.  My plan is to replicate the pre-war Martin D-18 guitar, which is one of the finest sounding instruments ever made (in my opinion).

I'll keep you posted throughout the building process.


Sunday, December 15, 2013

'el Jefe'

I picked up the last oak neck I had in the inventory, looked it over, and thought, 'what am I going to do with this?'  A Padron cigar box was lying in the corner groaning for attention, so I decided to match the two up.

'el Jefe' is a three-string electro/acoustic 25.4-inch cigar box guitar with scarf joint ebony laminate headstock, and zebrawood 22-fret fingerboard.  The Corian nut is followed by a brass drawer pull I converted to a bridge and saddle.  The A-D-G strings from a standard acoustic set ride over a very 'hot' hand wound TotalRojo magnetic pickup, from the open gear tuners to the custom tailstock.  It's tuned to open G (G-D-g).

I like the Padron box because of the acoustic quality derived from the thin laminated top, which lets sound bounce around quite well through the three screen-backed sound holes.  Amp up this monster and the doors blow down -- seriously, with the gain set at two, and volume at four, this 'big man' scorches.

To add window dressing to the box, I chose to design corner pieces from thin walnut stock.  And, the logo, which is a standard headstock item, is relocated to the body for a little change in atmosphere.


Saturday, December 7, 2013

'The Lion' In Winter

I most nearly froze my butt this morning shooting photos of 'The Lion', which is the most recent creation coming out of my shop.

Although, the temperature here in Mansfield, OH was about 28 degrees (that's above zero) with a slight wind blowing, it is nothing like where I grew up.  Temperature in Great Falls, Montana this morning was a balmy -24 degrees (raw temp with no listed wind chill, but I know from experience the wind was blowing - it always blows - hard), while the temp in central Antarctica was a mere -22 degrees.  Yes, folks, it gets very chilly on the central plains of the Big Sky Country.

'The Lion' is a three-string electro/acoustic guitar with oak scarf joint neck and 20-fret chakte kok fingerboard, TotalRojo hand wound pickup and bridge.  The nut is hand shaped from Corian and the saddle is an old skeleton key I found hiding in the cluttered recesses of my tool box.  The exposed tailpiece is a laminated cherry-maple-cherry item, and the tuners are closed gear.  The body is a Totalmenta a mano cigar box from Esteli, Nicaragua. Five coats of poly make the neck and body as slick and glossy as an ice rink.


Acoustic resonance is quite good for a small body, which I attribute to the thin Spanish cedar laminated top and star-shaped sound holes.  The pickup located close to the bridge give the guitar a warm and mellow sound, but it is not to be confused with weak, 'cause that ain't the case.  'The Lion' roars, when plugged into an amp.

Monday, December 2, 2013

Pup Tester

Testing the magnetic pickups (pups) I've been making has been a pain in the butt, because I have been lazy and not created a method by which it could be easier.  I would wind the pup, attach lead wires from the pup to an output jack, fiddle around holding the jack to plug in an amp cord.  If I discovered a problem, I would need to unsolder  the leads, before I could proceed.

So, today I decided to build a pup tester, which eliminates the useless fooling around.

This photo is of the basic test platform with pup leads attached to 'ground' and 'positive' alligator clips near the bridge. (The pup is a creation from my friend Roger Berry, who taught me what I know about winding pickups, but not everything he knows ;-).

Leads from the clips are routed through the surface of the enclosure to the output jack, where the amp cord is inserted.

The dark lines on the test surface are the location markers for the pups in neck, mid, or bridge positions on a guitar, which produce different sound in each position.

The chrome bridge is a leftover item that I no longer had use for on a regular build, so it came in handy  here.

I decided to keep it as sanitary and simple as possible, and to make this tester in the shape of a guitar (you need to use your imagination here) with a standard 25.4-inch scale.  It has only base and treble strings, but that all I need to determine if the pup is working correctly and to hear how it sounds in operation.


 I'm using one of the CBAmps I build for the test.  It's a 9-volt battery
operated GuitarFuel harness with multiple output options, 
and it blows sound around big time.

Sunday, December 1, 2013

'Romeo'

'Romeo' is a four-string electric guitar created from a
Romeo y Julieta cigar box.

The box construction does not facilitate making it an acoustic, because of the thickness of all surfaces (about 3/8" thick on the sides, and the top is made from a pressed material, not wood).

The scarf joint neck is handcrafted from a stick of cherry with a Zebrawood fingerboard.

Open-gear tuners draw the strings, which are recessed inside the box, across a Corian saddle, hand set frets, and Corian nut.

The magnetic pickup is set into the top about midway between the neck and saddle, which produces a warm and mellow sound, while retaining richness to the treble side of play. To maintain a clean appearance, I covered the pup top and painted it white to match the top.

The box itself, in its original state, has such a smooth and glossy finish, I had to be really careful not to screw it up in the building process . . . I succeeded.  I really like the clean, unobstructed overall appearance of the guitar, and it sounds good, too.

To enhance the Romeo & Julieta theme, I added a few illustrations to the inside.